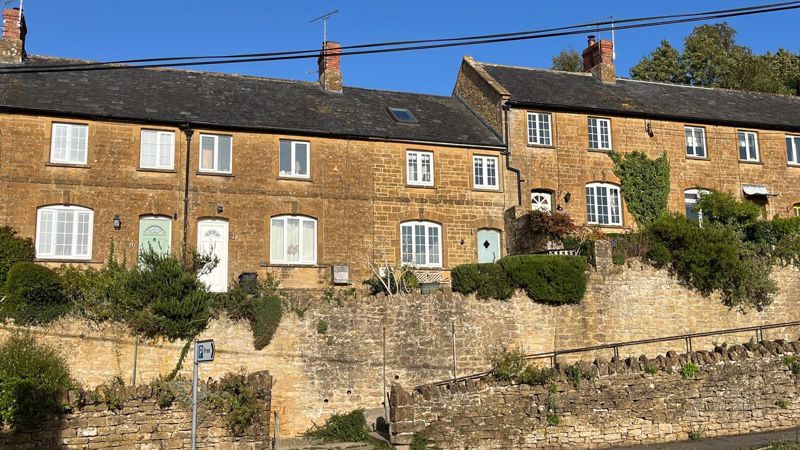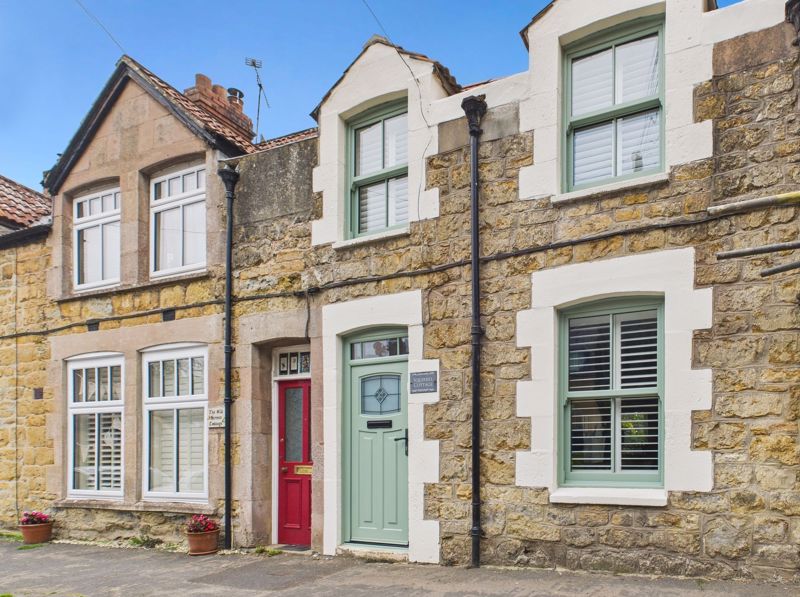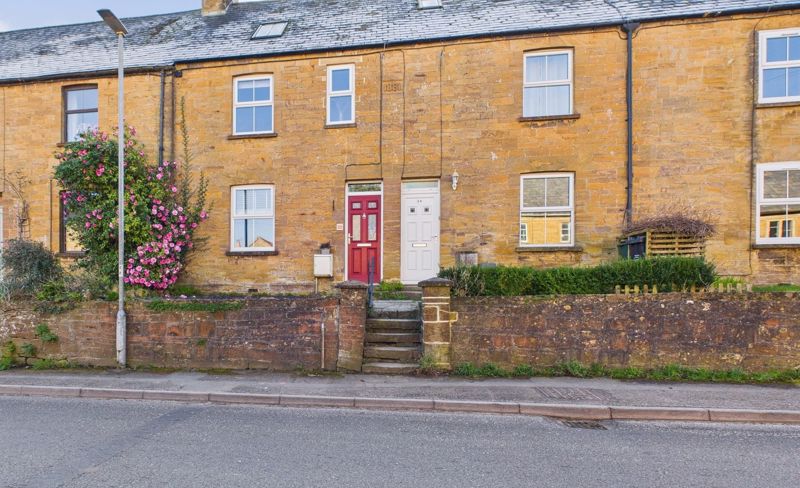


3 bed house for sale in New Road, Norton Sub Hamdon, TA14
£280,000
3 bedrooms
1 bathroom
2 receptions
3 bedrooms
1 bathroom
2 receptions
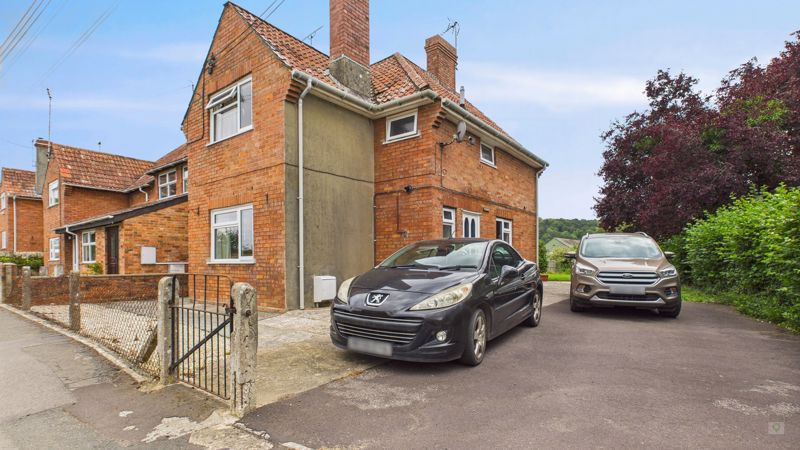
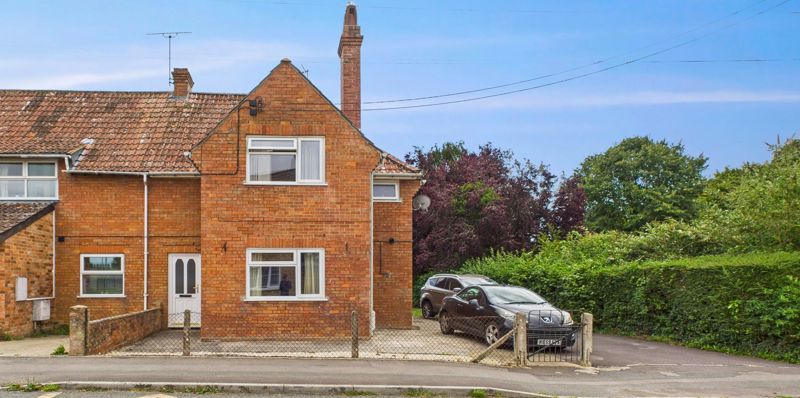
ApproachThe property is set back from the road and benefits from a tarmac driveway to the side, framed by mature hedging, with parking for up to four vehicles. An additional parking space is available at the front. Access to the home is available via the front entrance or a side door, offering flexibility and convenience.
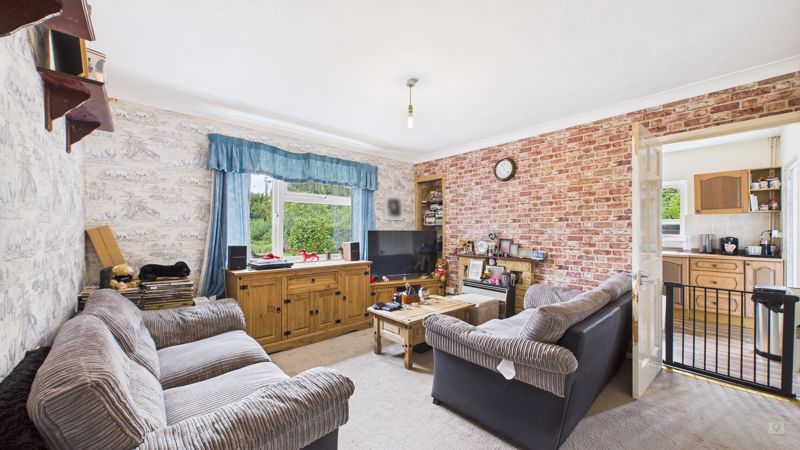
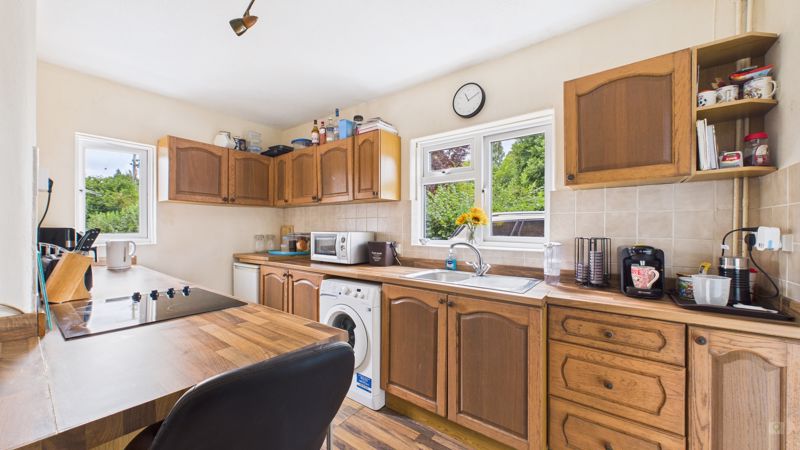
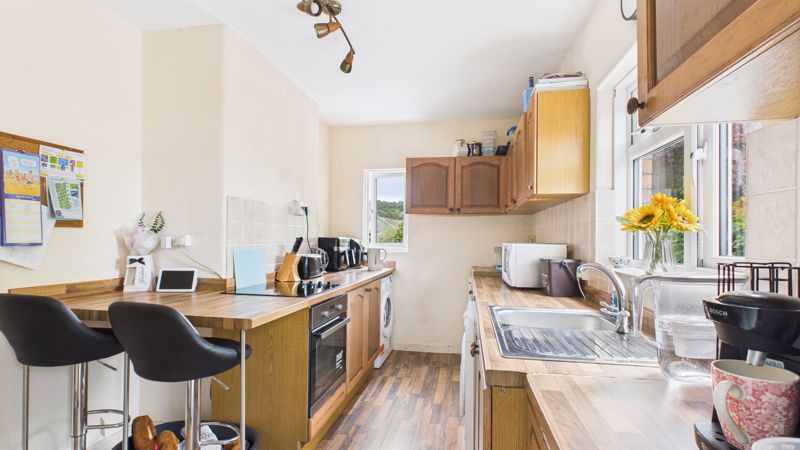
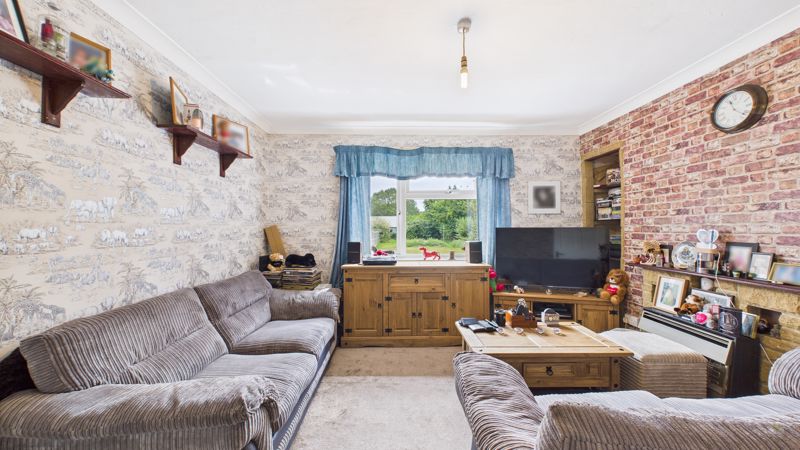
Ground Floor LivingEntering from the side driveway, you step into the hallway where a convenient downstairs WC is located to the left. To the right is the kitchen, fitted with a range of wall and base units, a built-in oven and hob, and space for a washing machine and tumble dryer. There is also a useful breakfast bar. The kitchen leads into a spacious living room, with gas fire and like the kitchen it has views of the rear garden and Ham Hill Country Park. Returning to the side access hallway, you'll find a front-facing room ideal for use as a dining room, which connects to the front entrance hall and staircase to the first floor.
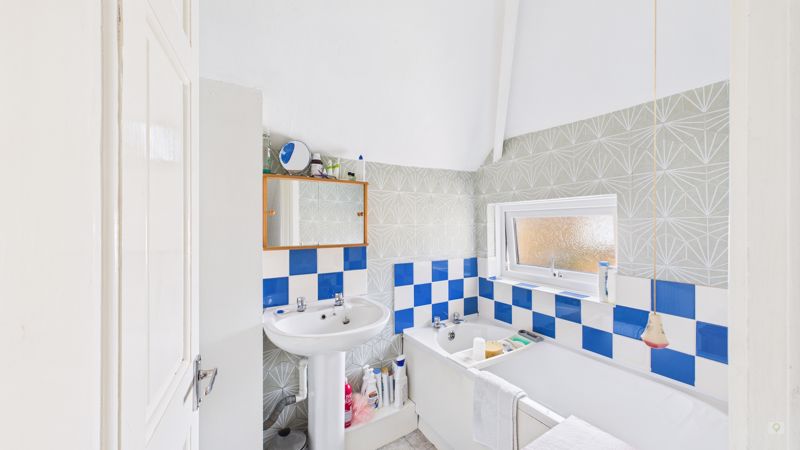
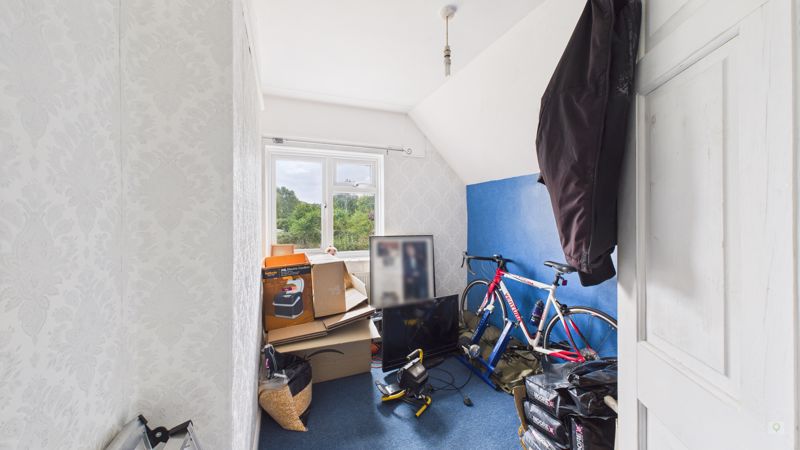
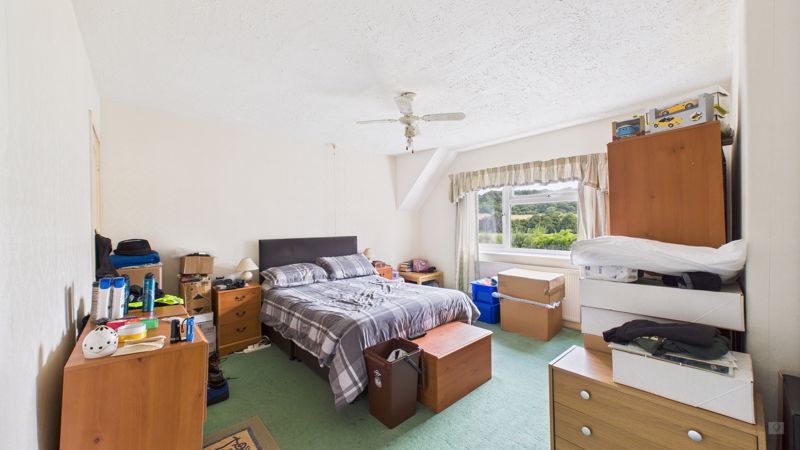
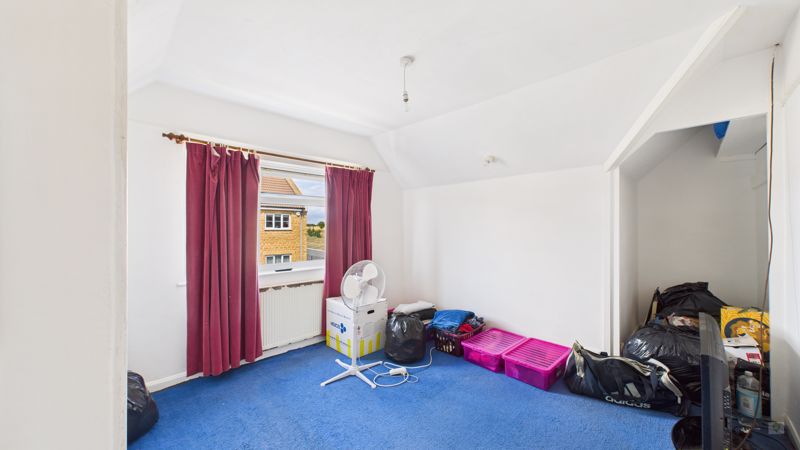
First Floor LivingThe first floor includes a family bathroom and a separate WC. There are two well-sized double bedrooms with built-in storage, along with a single bedroom. The landing also provides access to the attic space.
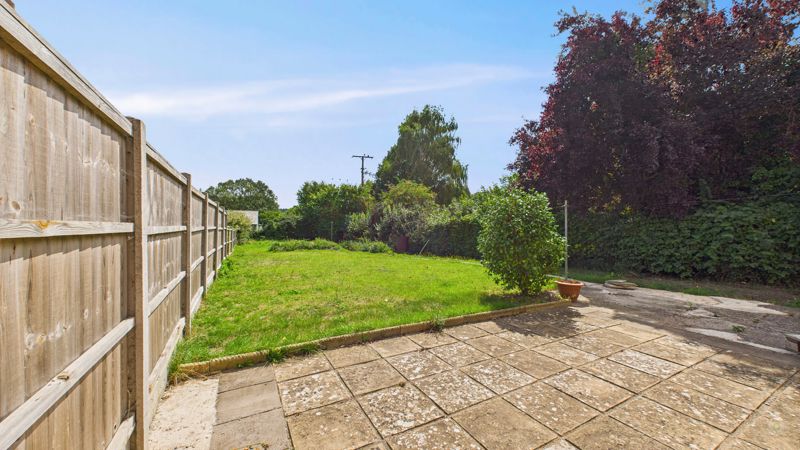
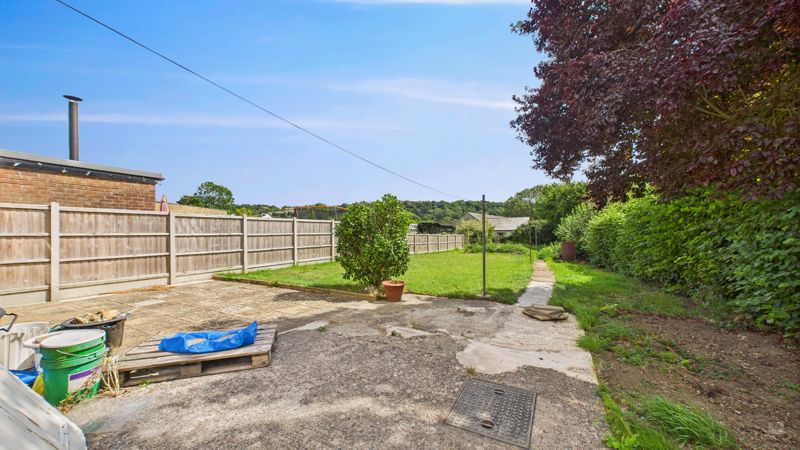
Garden and Off Road ParkingThe rear enclosed garden has a large patio, mature hedging, shrubs and trees, which backs onto open space that includes the recreation grounds and offering beautiful views of Ham Hill Country Park. There is off road parking to the front and side of the property.
Material InformationFreehold property dating back to 1920's EPC Rating: C Council Tax Band: B Gas Central Heating with Combi Boiler Mains - Gas, Electric, Water and Drainage Loft - With ladder, and half boarded Rear Access - The neighbouring property has access across the rear garden Flood Zone 1: Low risk from risk of flooding from rivers or sea Ofcom - UltraFast Broadband available (Up to 1,000Mbps) available
Photo 15
Photo 4
Photo 3
Photo 2
Photo 9
Photo 13
Photo 12
Photo 11
Photo 14
Photo 5
Photo 7
Photo 1
Photo 10
Photo 8